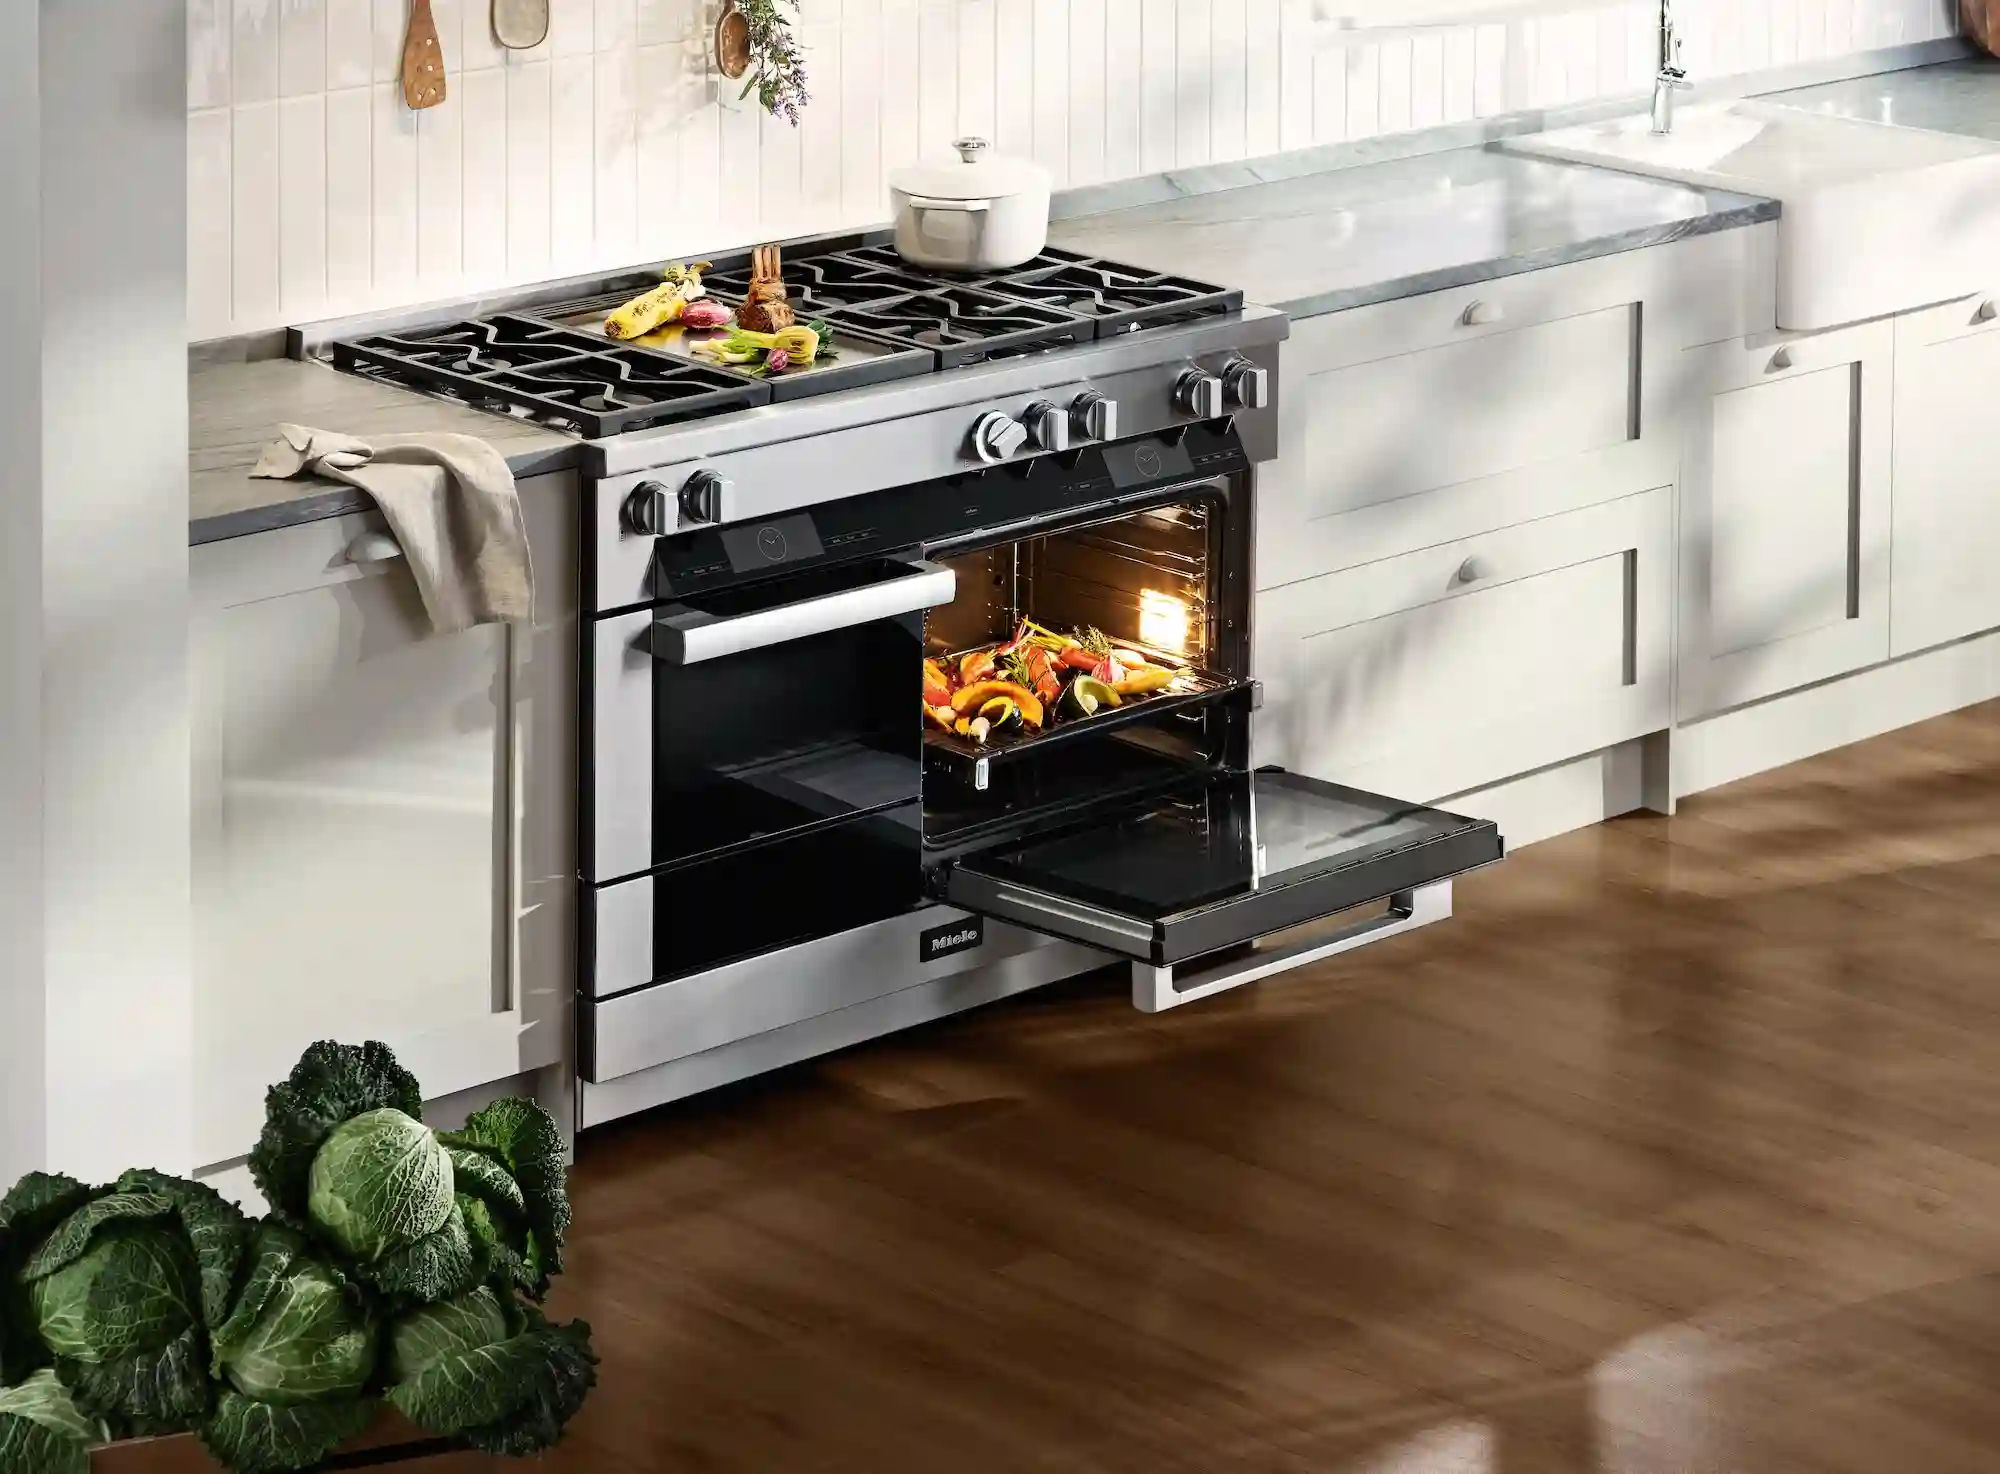
Miele ovens and ranges represent precision German engineering designed for serious cooking enthusiasts. Whether you own a built-in oven, range, or steam combination unit, this guide helps you diagnose and resolve common issues to keep your appliance performing perfectly.
Understanding Miele Cooking Appliances
Miele offers diverse cooking products including conventional ovens, speed ovens, steam ovens, combination steam ovens, and induction cooktops. Each type uses different heating technologies and has specific maintenance requirements.
Conventional ovens use heating elements or gas burners, steam ovens generate pressurized steam, and combination units integrate multiple cooking methods. Induction cooktops create electromagnetic fields that heat compatible cookware directly.
Oven Not Heating
An oven that won’t heat prevents cooking and requires immediate attention. Start by verifying the oven is receiving power. Check the circuit breaker and ensure it hasn’t tripped. Ovens draw significant current and can trip breakers, especially during self-cleaning cycles.
For electric ovens, the bake element is the most common failure point. This element glows red when functioning properly. If it doesn’t heat or has visible breaks or blisters, it needs replacement. Test the element with a multimeter for continuity—a functioning element shows low resistance, typically 15-50 ohms depending on wattage.
The broil element can also fail. Test it the same way as the bake element. Some recipes and cooking modes use both elements, so both should function properly for optimal performance.
Gas ovens require proper gas supply and ignition. Verify the gas supply valve is open and other gas appliances in your home are working. If the igniter glows but doesn’t light the gas, it may be weak. Gas oven igniters weaken over time and often need replacement even if they still glow.
The temperature sensor (also called thermistor or RTD) monitors oven temperature and signals the control board. A faulty sensor causes incorrect temperature readings and poor heating performance. Test the sensor’s resistance at room temperature—it should read approximately 1,100 ohms at 75°F. Replace sensors showing significantly different values.
The oven control board regulates all functions. A failed control board prevents proper heating even when elements and sensors work correctly. Board diagnosis typically requires professional expertise, though visible damage like burnt components indicates replacement is needed.
Temperature Accuracy Problems
Ovens that heat but maintain incorrect temperatures affect cooking results. Actual temperature often differs slightly from the set point—variations of 25°F are normal. Use an oven thermometer to measure actual temperature.
Miele ovens have calibration functions accessible through the control panel. Consult your user manual for calibration procedures specific to your model. Most allow adjustments of plus or minus 35°F to compensate for temperature variations.
The temperature sensor may be reading incorrectly. Verify it’s properly positioned and not touching the oven wall. A sensor touching metal reads higher than actual air temperature. Ensure the sensor is centered in the cavity and secured properly.
Hot spots and cold spots indicate poor air circulation. Check that the convection fan operates when in convection mode. A failed fan motor prevents proper air circulation, creating uneven heating. Listen for the fan running—it makes a distinct humming sound when operating.
Worn door seals allow heat to escape, affecting temperature stability. Inspect the door gasket for damage, compression set, or debris. Clean the seal with mild soap and water. Replace it if torn, significantly compressed, or if the door doesn’t close tightly against it.
Self-Cleaning Cycle Problems
The self-cleaning cycle uses extremely high temperatures to burn off food residue. If the cycle won’t start, first ensure the door is fully closed. Self-clean cycles require the door to lock before heating begins.
The door lock mechanism may have failed. During self-clean, a motor-driven lock secures the door. If you hear the lock motor running but the door doesn’t lock, the mechanism may be jammed or broken. Remove power and manually check the lock assembly for obstructions.
The thermal fuse protects against overheating. If the oven previously overheated, the thermal fuse may have blown. This safety device cuts all power to heating elements when triggered. A blown thermal fuse requires replacement and won’t reset.
Excessive smoke during self-cleaning indicates heavy soil buildup. Stop the cycle, allow the oven to cool, and manually remove large food deposits. Wipe up major spills before starting self-clean to reduce smoke.
The cycle may take longer than expected. Self-clean cycles typically run 2-4 hours depending on soil level and oven size. Don’t interrupt the cycle—opening the door before completion requires starting over.
After self-cleaning, a white ash residue remains in the oven. This is normal. Allow the oven to cool completely, then wipe out the ash with a damp cloth. Don’t use any cleaners, as they’re unnecessary after the high-heat cycle.
Door Issues
Oven doors that don’t close properly affect heating efficiency and safety. Start by checking the door alignment. The door should sit evenly in the opening with consistent gaps on all sides.
Door hinges wear over time, especially on frequently used ovens. Examine hinges for damage or excessive play. Most oven doors can be removed by opening them to a specific angle (usually 45 degrees) and lifting straight up. This allows easy hinge inspection and replacement.
The door springs assist closing and provide proper tension. Broken or weakened springs prevent the door from closing properly or staying closed. Springs are under significant tension—use caution when replacing them.
Glass panels in the door can crack from thermal stress or impact. Some Miele ovens have multiple glass layers separated by air gaps for insulation. Replacing door glass requires disassembling the door, which varies by model. Consult your service manual for specific procedures.
The door latch may be misaligned or damaged. During normal operation (not self-clean), the door should close without latching. If it catches on the latch mechanism, adjust the latch position or replace damaged components.
Convection Fan Problems
Convection ovens circulate hot air for even cooking and faster results. If the convection fan doesn’t operate, convection modes won’t work properly.
Verify you’ve selected a convection cooking mode. The fan only runs during convection, combination, or certain specialty cycles. It remains off during conventional baking.
Listen for fan operation during convection mode. If silent, the fan motor may have failed. The motor is typically located behind the rear panel of the oven cavity. Access requires removing interior panels and potentially the outer cabinet.
The fan blade may be obstructed or binding. Food debris or packaging materials can block the fan. Carefully inspect the fan area and remove any obstructions. Ensure the blade spins freely by hand when the oven is off and cool.
A failed control board can prevent the fan from receiving power. If other oven functions work but the convection fan never operates, suspect control board issues. This diagnosis typically requires professional testing.
Control Panel Malfunctions
Unresponsive controls or display problems prevent oven operation. Try resetting the oven by turning off the circuit breaker for five minutes, then restoring power. This clears temporary electronic glitches.
Control panel ribbon cables can loosen over time. These flat, multi-wire cables connect the control panel to the main control board. Access the cables and ensure they’re firmly seated in their connectors.
The touchpad or control panel overlay may have failed. These components register button presses and display information. Water damage or age can cause failure. Replacement touchpads are available for most models.
The main control board processes all inputs and controls oven functions. A failed board causes various symptoms including unresponsive controls, incorrect temperature regulation, or complete operational failure. Board replacement requires matching the exact part number to your model.
Error codes displayed on the control panel indicate specific problems. Common Miele oven error codes include F01 (temperature sensor fault), F02 (sensor open circuit), and F10 (overheating condition). Consult your user manual for complete error code definitions and recommended actions.
Cooktop Burner Problems
Gas cooktop burners that won’t light or burn unevenly require specific troubleshooting. For burners that won’t ignite, first clean the burner cap and base. Food spills can block gas ports or prevent proper igniter function.
The igniter creates the spark that lights gas. Clean igniters with a soft brush or cloth—never use abrasive materials that could damage the electrode. Ensure the igniter is properly positioned near the burner ports.
If the igniter sparks but gas won’t light, verify the gas supply is on. Check that other burners work to confirm gas availability. A clogged burner orifice prevents proper gas flow. Small wires or specialized cleaning tools can clear blocked orifices.
Weak or inconsistent flames indicate restricted gas flow. Remove the burner cap and base, clean all gas ports, and ensure proper reassembly. Misaligned burner caps cause poor flame distribution.
Constant clicking even after ignition suggests a stuck igniter switch or moisture around the igniter. Dry the burner area thoroughly and ensure all components are correctly positioned. If clicking persists, the igniter switch or spark module may need replacement.
Induction Cooktop Issues
Induction cooktops require compatible cookware with magnetic properties. If burners won’t heat, first verify you’re using appropriate pans. Place a magnet on the pan bottom—it should stick firmly.
Error codes on induction cooktops indicate specific problems. E1 or E2 codes typically relate to power supply issues. Verify proper electrical connection and voltage. E5 or E6 codes suggest temperature sensor problems.
Some induction elements detect pan size and won’t activate with cookware that’s too small. Use pans that cover at least 60% of the cooking zone. If the zone detects cookware but won’t heat, the power module for that zone may have failed.
Induction cooktops are sensitive to overheating. If the unit shuts off during cooking, cooling fans may be blocked or have failed. Ensure ventilation openings below the cooktop remain clear. Listen for cooling fan operation when zones are active.
The touch controls may become unresponsive if the surface is wet or contaminated. Clean the control area with a damp cloth and ensure it’s completely dry. Some models have control lock features—check that child lock isn’t activated.
Steam Oven Specific Problems
Steam ovens introduce unique maintenance requirements. If the oven displays a descaling message, perform the descaling procedure immediately. Mineral buildup damages the steam generator and reduces performance.
Use only manufacturer-recommended descaling agents. Generic products may not work effectively or could damage components. Follow the descaling procedure exactly as outlined in your manual—the process typically takes 30-60 minutes.
Insufficient steam production indicates water system problems. Verify the water container is filled and properly seated. Clean the water inlet valve and steam generator according to the maintenance schedule.
The steam generator heats water to produce steam. If it fails, the oven won’t produce steam. Descaling regularly prevents generator failure. A failed generator requires professional replacement due to electrical and plumbing connections.
Water leaking from a steam oven suggests seal problems or drainage issues. Check the door seal for damage. Ensure the condensate drain isn’t blocked—this drain removes excess moisture from the cavity.
The water hardness setting affects descaling frequency. Set it correctly for your area’s water hardness. Use filtered or distilled water in areas with very hard water to reduce mineral accumulation.
Lighting Problems
Interior oven lights illuminate the cavity for monitoring cooking progress. If lights don’t work, first check the bulb. Miele ovens use specific high-temperature bulbs—don’t use standard household bulbs.
Replace bulbs only when the oven is completely cool. Disconnect power before replacing bulbs for safety. The bulb cover typically twists off or has a retaining clip.
The light socket can fail from heat exposure or corrosion. If a new bulb doesn’t work, inspect the socket for damage or burnt contacts. Replace the socket if damaged.
The light switch may have failed. This switch activates when you open the door or press the light button. Test the switch for continuity when activated. Replace a faulty switch to restore lighting.
Some models have automatic lights controlled by the electronic control. A failed control board can prevent lights from operating, though other symptoms usually appear first.
Unusual Noises
Cooking appliances make various operational sounds. Ticking during heating is normal—it’s metal expanding as temperature increases. Ticking that continues after the oven reaches temperature may indicate a failing relay.
Humming from convection ovens comes from the fan motor. This is normal operation. Grinding or rattling from the fan area suggests bearing wear or a loose fan blade. Access the fan to inspect and tighten or replace as needed.
Gas ovens make whooshing sounds when burners ignite. This is normal. Loud pops or booms during ignition indicate delayed ignition—gas accumulates before igniting. This dangerous condition requires immediate service to clean burners and check gas pressure.
Clicking from electronic controls is normal, indicating relays activating and deactivating. Constant rapid clicking suggests a relay problem or control board issue.
Buzzing during self-clean comes from the door lock motor. This is expected during lock engagement and disengagement. Continuous buzzing suggests a stuck lock motor requiring service.
Odors and Smoke
New ovens emit odors during initial heating as manufacturing residues burn off. Run the oven empty at 400°F for one hour before first use, preferably with kitchen ventilation on.
Smoke during cooking usually results from food spills on the oven bottom or heating elements. Clean spills promptly to prevent smoking during subsequent use. Don’t use the self-clean cycle immediately after heavy spills—wipe up major deposits first.
A burning smell unrelated to cooking suggests electrical problems. Immediately turn off the oven and inspect for damaged wiring or components. Don’t use the oven until you’ve identified and resolved the issue.
Plastic odors may indicate insulation burning or plastic items left inside the oven. Remove everything from the oven and inspect thoroughly. Some odors dissipate with ventilation; persistent burning smells require professional investigation.
Gas odors from gas ovens demand immediate attention. If you smell gas, don’t operate any switches or create sparks. Ventilate the area, evacuate if the smell is strong, and contact your gas utility immediately.
Energy Efficiency
Maintaining efficiency reduces energy costs and environmental impact. Use the oven light to check food rather than opening the door. Each door opening releases significant heat, extending cooking time and wasting energy.
Convection cooking is more efficient than conventional baking. The circulating air transfers heat more effectively, allowing lower temperatures and shorter cooking times. Use convection when possible.
Don’t preheat longer than necessary. Most foods except baked goods don’t require full preheating. Miele ovens heat quickly—follow recommended preheat times in your manual.
Keep the oven clean. Built-up food residue acts as insulation, reducing heating efficiency. Regular cleaning maintains optimal performance.
Use appropriately sized cookware on cooktop burners. Oversized pans waste heat, while undersized pans receive inefficient heating. Match pan size to burner diameter for best results.
For gas cooktops, blue flames indicate efficient combustion. Yellow flames suggest incomplete combustion and reduced efficiency. Have gas pressure and air mixture checked if flames appear yellow.
Maintenance Best Practices
Regular maintenance extends appliance life and prevents problems. Clean the oven interior regularly using mild cleaners—avoid harsh chemicals that can damage finishes. Miele provides specific cleaning products formulated for their appliances.
Wipe cooktop surfaces after each use. Food spills are easier to clean when fresh. For induction and glass cooktops, use cooktop cleaners designed for glass surfaces. Avoid abrasive scrubbers that could scratch.
Clean door seals monthly with mild soap and water. Inspect for damage or excessive compression. Proper seal maintenance ensures efficient heating and prevents heat loss.
For steam ovens, perform descaling according to the maintenance reminder. Don’t ignore these messages—delayed descaling can permanently damage the steam generator.
Check burner caps and bases regularly on gas cooktops. Ensure proper alignment and cleanliness. Misaligned components cause poor burner performance and potential safety hazards.
Inspect electrical connections annually. Ensure the power cord or hardwired connection shows no signs of damage or overheating. Discolored or melted insulation indicates dangerous overheating requiring immediate attention.
When Professional Service Is Required
Some repairs require specialized knowledge and tools. Gas appliance work often requires licensed technicians due to safety concerns and local codes. Never attempt gas line repairs without proper training and licensing.
Control board repairs involve complex diagnostics and electrical knowledge. While replacement is often straightforward, accurate diagnosis prevents unnecessary part replacement.
Steam oven repairs can be complex due to water systems and specialized components. Qualified technicians have experience with these unique appliances and access to proper parts.
For appliances under warranty, unauthorized repairs void coverage. Always verify warranty status before attempting repairs or hiring service providers.
If you’re uncomfortable with any repair, especially those involving gas, high voltage electricity, or complex disassembly, professional service ensures safety and proper repair. The cost of professional service is often less than the cost of mistakes or injuries.
Miele-authorized service providers receive factory training and have access to technical resources and genuine parts. This expertise often results in faster, more accurate repairs compared to general appliance technicians.
Safety Considerations
Always disconnect power before performing any repair work. Turn off the circuit breaker, not just the appliance control. Verify power is off with a voltage tester before touching any electrical components.
Gas appliances require extra caution. Turn off the gas supply before working on gas components. If you smell gas, stop work immediately, ventilate the area, and contact professionals.
Oven cavities retain heat long after turning off. Allow adequate cooling time before performing any interior work. Use heat-resistant gloves when working in recently used ovens.
Self-cleaning cycles create extremely high temperatures. Never attempt to open the oven or override the door lock during self-clean. Wait for the cycle to complete and the oven to cool.
Many components are sharp or have edges that can cause injury. Wear protective gloves when handling metal panels, racks, or internal components.
By following these repair and maintenance guidelines, your Miele oven or range will provide exceptional cooking performance for many years, delivering the precision and reliability expected from this premium brand.