Miele refrigerators combine cutting-edge technology with exceptional build quality, but even these premium appliances can develop issues. This guide helps you diagnose and resolve common problems to keep your refrigerator running optimally.
Understanding Your Miele Refrigerator
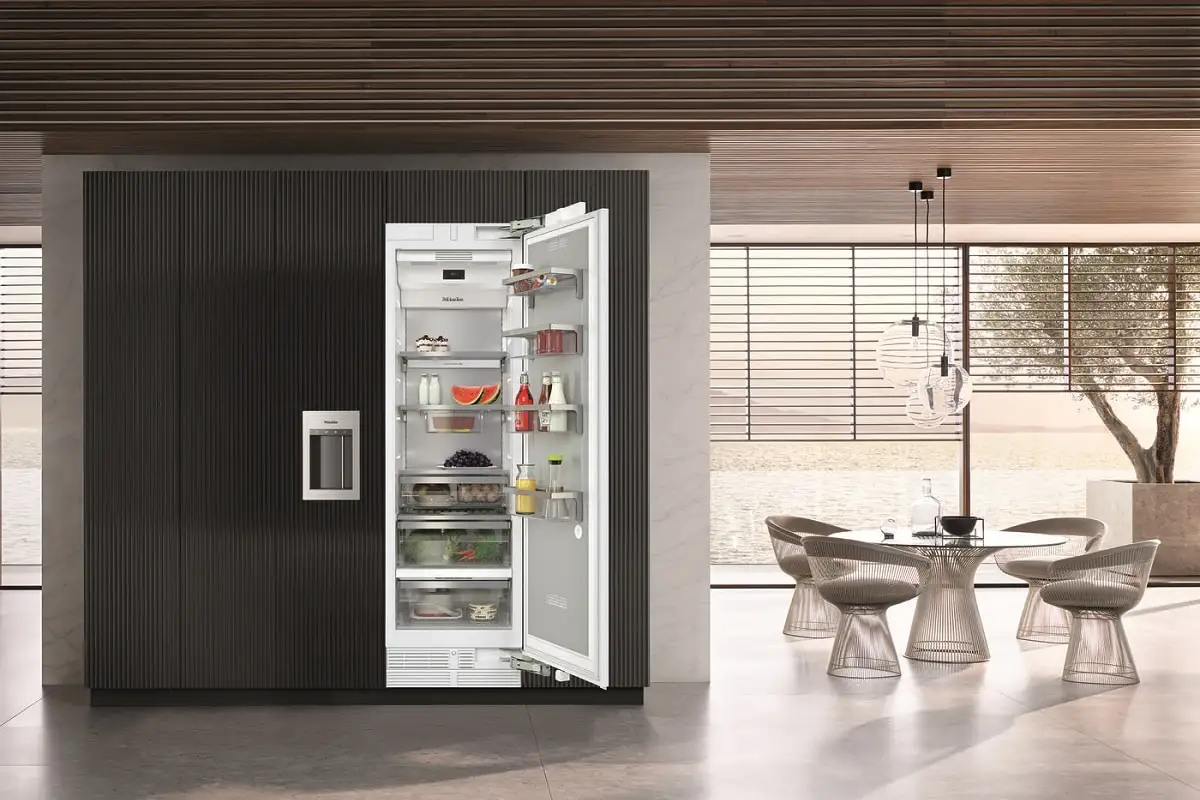
Miele offers various refrigerator configurations including freestanding models, built-in units, and French door designs. Most feature advanced temperature management systems, humidity controls, and energy-efficient compressors. Understanding these systems helps you troubleshoot effectively.
The compressor circulates refrigerant to remove heat, the evaporator absorbs heat inside the cabinet, and the condenser releases it outside. Fans circulate air for even cooling, while sensors monitor temperature and humidity.
Refrigerator Not Cooling Properly
Insufficient cooling is the most common refrigerator complaint. Start by checking the temperature settings. The refrigerator compartment should be set between 37-40°F (3-4°C), while the freezer should be at 0°F (-18°C).
Ensure adequate airflow around the unit. Built-in models require specific clearances for ventilation. Check your installation manual for minimum spacing requirements. Blocked vents prevent heat dissipation and reduce cooling efficiency.
Examine the door seals for damage or debris. Close the door on a dollar bill—if you can pull it out easily, the seal isn’t creating proper suction. Clean the seals with warm soapy water and inspect for tears or deformation. Replace damaged seals to maintain proper temperature.
The condenser coils may be dirty. These coils, located at the back or bottom of the refrigerator, release heat absorbed from inside. Dust and debris accumulation insulates the coils, reducing their effectiveness. Unplug the refrigerator and clean the coils with a vacuum or coil brush every six months.
Overloading the refrigerator blocks airflow and prevents proper cooling. Avoid cramming too much food inside, and ensure air vents aren’t obstructed. Items should be spaced to allow cold air circulation throughout all compartments.
The evaporator fan may have failed. This fan circulates cold air from the freezer to the refrigerator compartment. If you hear the compressor running but feel no cold air movement, the fan motor may need replacement. Access typically requires removing interior panels.
Freezer Not Freezing
A freezer that’s too warm endangers food safety. Check that the freezer isn’t in demo mode, which some Miele models have for showroom display. Consult your manual to exit demo mode if accidentally activated.
Frost buildup on the evaporator coils reduces cooling capacity. If you notice excessive frost, the defrost system may be malfunctioning. The defrost heater, defrost thermostat, or defrost timer could be faulty. These components require testing with a multimeter and may need professional diagnosis.
The compressor may be struggling or failing. Listen for unusual noises or note if the compressor runs constantly without achieving proper temperature. A failing compressor often requires professional replacement as it involves refrigerant handling.
Temperature sensors can fail, sending incorrect readings to the control board. This causes improper compressor cycling. Testing sensors requires a multimeter and knowledge of expected resistance values for your specific model.
Excessive Frost or Ice Buildup
Frost accumulation in the freezer indicates moisture entering the system or defrost problems. Check the door seal first—a poor seal allows humid air to enter and freeze.
The defrost system prevents frost buildup by periodically warming the evaporator coils to melt accumulated frost. If the defrost heater burns out, frost accumulates over time. The defrost thermostat monitors temperature and can fail in the closed position, preventing the heater from activating.
The defrost timer or control board signals when defrost cycles should occur. A faulty timer may not initiate defrost cycles regularly enough. Most timers can be manually advanced for testing purposes.
Check the drain tube and drain pan. During defrost, melted frost should drain away through a tube to a pan where it evaporates. A clogged drain tube causes water to refreeze, creating ice buildup. Flush the drain tube with warm water to clear blockages.
Water Leaking Inside or Outside
Internal water leaks often come from a clogged defrost drain. During defrost cycles, melted frost water should drain through a tube to the drain pan. When clogged, water backs up and leaks inside the refrigerator or freezer.
Locate the drain opening at the back of the freezer compartment, typically behind a panel. Use warm water and a turkey baster or pipe cleaner to flush the drain. Some models allow access to the drain tube from the bottom of the unit.
External leaks may originate from the water supply line if your refrigerator has an ice maker or water dispenser. Inspect all connections for tightness and hoses for cracks or damage. Replace damaged supply lines promptly to prevent water damage.
The drain pan under the refrigerator collects defrost water. If cracked or misaligned, water can leak onto the floor. Access the pan by removing the front grille or rear panel. Empty, clean, and inspect the pan regularly.
High humidity environments produce more condensation. Miele refrigerators handle moisture well, but excessive humidity can overwhelm the system. Using a dehumidifier in the kitchen can reduce condensation-related issues.
Ice Maker Problems
Ice maker malfunctions range from no ice production to poor ice quality. Verify the ice maker is turned on—many models have an on/off switch or lever that can be accidentally moved.
Check the water supply line. The shut-off valve should be fully open, and the line should be free of kinks. If the water line is frozen, typically visible as a frost-covered tube, carefully thaw it with a hairdryer on low heat.
The water inlet valve controls water flow to the ice maker. Mineral deposits or sediment can clog the valve screen. Replace the inlet valve if water flow is restricted or if the valve fails electrical continuity testing.
The ice maker module itself can fail. Signs include no ice production despite water supply, or the ice maker not cycling through its harvest sequence. Replacement modules are available but installation requires careful attention to water and electrical connections.
Low water pressure prevents proper ice production. The inlet valve requires at least 20 PSI to function properly. Test your home’s water pressure and address any issues with the main supply.
Ice quality problems like cloudy or small cubes often relate to water supply issues. Install a water filter if you haven’t already, and replace filters according to the manufacturer’s schedule. Air in the water line can also cause hollow or malformed cubes—run several ice cycles to purge air from the system.
Water Dispenser Not Working
Water dispenser problems have several potential causes. Ensure the water supply is connected and the shut-off valve is open. Check that the water filter isn’t clogged—a dirty filter restricts flow significantly.
The dispenser switch may have failed. This switch activates when you press your glass against the dispenser lever. Test the switch with a multimeter for continuity when pressed. Replace a faulty switch to restore operation.
Air trapped in the water line prevents proper dispensing. After installing a new filter or during initial setup, dispense several gallons of water to purge air from the system. Water flow should become steady after air is removed.
Frozen water lines cause dispensing problems in cold environments or if the freezer temperature is set too low. Carefully thaw the water line with warm towels or a hairdryer. Adjust the freezer temperature if it’s set below 0°F.
The dispenser actuator may be broken or jammed. This mechanical linkage connects the external paddle to the internal switch. Inspect it for damage and ensure it moves freely without obstruction.
Strange Noises
Refrigerators make various operational noises, but unusual sounds warrant investigation. A clicking noise every few hours is normal—it’s the defrost timer cycling. Constant clicking suggests a failing compressor relay or start capacitor.
Buzzing or humming from the back indicates the compressor is running. This is normal operation. Loud or rattling buzzing suggests the compressor is struggling or mounting hardware has loosened. Tighten any loose components and ensure the refrigerator sits level.
Gurgling or bubbling sounds come from refrigerant flowing through the cooling system. This is completely normal, especially after the compressor cycles off.
Squealing or chirping often comes from the evaporator or condenser fan motors. These fans can collect debris or their bearings can wear out. Access the fans and clean them thoroughly. Replace motors if the noise persists or if the fan doesn’t spin freely.
Knocking sounds may indicate the compressor mounting hardware has loosened. This requires accessing the compressor compartment and tightening mounting bolts. Be careful not to damage refrigerant lines during this process.
Temperature Fluctuations
Inconsistent temperatures affect food quality and safety. The most common cause is frequent door opening or leaving the door open too long. Minimize door opening and ensure doors close completely.
Improper loading blocks air vents, creating warm spots. Refrigerators need good airflow to maintain consistent temperatures. Rearrange items to ensure vents remain clear, especially the air return in the refrigerator compartment.
The thermistor or temperature sensor may be reading incorrectly. These sensors provide temperature data to the control board. A faulty sensor causes improper compressor cycling and temperature swings. Test the sensor with a multimeter and compare resistance values to specifications for your model.
The control board regulates all refrigerator functions. A malfunctioning board can cause erratic temperature control, irregular compressor cycling, or failure to maintain set temperatures. Control board diagnosis typically requires professional expertise.
Refrigerant leaks cause gradual temperature increases and compressor overworking. If you notice oily residue around refrigerant lines or hear hissing sounds, suspect a leak. Refrigerant work requires EPA certification and specialized equipment—always use a professional for these repairs.
Door Problems
Doors that don’t close properly or swing open cause temperature issues and increase energy consumption. Start by checking that the refrigerator sits level. Use a spirit level on top of the unit and adjust the leveling feet as needed. A slight backward tilt helps doors close naturally.
Examine the door hinges for wear or damage. Loose hinge screws allow doors to sag. Tighten all hinge mounting screws and check for worn bushings that may need replacement.
Door seals create the airtight barrier necessary for efficient operation. Test seals by closing the door on a flashlight beam in a darkened room—if you see light escaping, the seal isn’t working properly. Replace worn or damaged seals following your model’s instructions.
The door closing mechanism or cam may need adjustment. Many Miele refrigerators have adjustable door closers that control closing speed and force. Consult your manual for adjustment procedures specific to your model.
Heavy door bins overload the door and can cause alignment problems. Distribute weight evenly and avoid overloading door storage. Remove items if you notice the door sagging.
Energy Efficiency Issues
Higher energy bills may indicate refrigerator inefficiency. Dirty condenser coils are the primary culprit. Clean them every six months to maintain optimal heat transfer and energy efficiency.
Worn door seals force the compressor to work harder, increasing energy consumption. Replace seals at the first sign of wear to maintain efficiency.
Setting temperatures too cold wastes energy. The refrigerator compartment should be 37-40°F and the freezer 0°F. Lower temperatures provide no additional food safety benefit but significantly increase energy use.
Placing the refrigerator near heat sources like ovens, dishwashers, or in direct sunlight forces the compressor to work harder. If possible, relocate the refrigerator or shield it from heat sources.
An aging refrigerator naturally becomes less efficient. If your unit is over 15 years old and showing efficiency problems, replacement may be more cost-effective than continued repairs. Modern refrigerators use significantly less energy than older models.
Control Panel and Display Issues
Unresponsive controls or blank displays indicate electrical or control board problems. First, try resetting the refrigerator by unplugging it for five minutes, then restoring power. This clears temporary electronic glitches.
Check the power supply. Ensure the outlet provides proper voltage and the circuit breaker hasn’t tripped. Test the outlet with another appliance to verify power availability.
The control board may have failed. This computer manages all refrigerator functions including temperature regulation, defrost cycles, and user interface. Control board replacement requires technical skill but is usually straightforward once you access the component.
Display problems without other symptoms may indicate a failed display module rather than the control board itself. These can sometimes be replaced separately, saving the cost of a complete control board.
Inspect wiring harnesses for damage or loose connections. Vibration over time can loosen connector plugs. Ensure all connections are secure and wires aren’t pinched or damaged.
Odor Problems
Unpleasant refrigerator odors usually come from spoiled food, but can also indicate mechanical issues. Remove all items and clean every surface with a solution of baking soda and water. Pay special attention to door seals, drain tubes, and hard-to-reach corners.
The drain pan collects defrost water and can harbor bacteria and mold. Access the pan from the bottom or rear of the refrigerator, remove it, and wash thoroughly with soap and water. Some models have removable drain pans; others require in-place cleaning.
Mold growth in the drain tube or water system causes musty odors. Flush the defrost drain tube with a solution of bleach and water to kill mold and bacteria. For ice maker or water dispenser issues, run several batches of ice to flush the system.
Replace the water filter if your refrigerator has one. Old filters can harbor bacteria and affect water taste and smell. Follow the manufacturer’s replacement schedule, typically every six months.
Place an open box of baking soda in the refrigerator to absorb ongoing odors. Replace it every three months. Activated charcoal filters also work effectively for odor control.
Frost-Free System Maintenance
Understanding the frost-free system helps prevent common problems. The cycle begins when the defrost timer or control board signals a defrost period. The compressor shuts off and the defrost heater activates, warming the evaporator coils to melt frost.
The defrost thermostat monitors temperature during this process. When the coils reach approximately 55°F, the thermostat opens, cutting power to the heater. This prevents overheating. The melted water drains through a tube to the drain pan where it evaporates.
Component failure anywhere in this system causes frost buildup. The defrost heater is the most common failure point. Test it with a multimeter for continuity—a functioning heater shows low resistance.
The defrost thermostat should show continuity when cold and open when warm. Test it by placing it in ice water (should show continuity) then warm water (should open). Replace a faulty thermostat to restore proper defrost cycles.
The defrost timer or control board controls cycle timing. Mechanical timers can be manually advanced for testing. Electronic controls require a professional diagnosis if suspected of failure.
When Professional Help Is Needed
Some repairs require specialized knowledge, tools, or EPA certification. Refrigerant system work including leak repair, compressor replacement, and recharging must be performed by certified technicians.
Control board diagnosis and replacement can be complex. While physically replacing a board is straightforward, diagnosing board failure versus sensor or wiring problems requires expertise.
If you’ve attempted basic troubleshooting without success, professional service ensures accurate diagnosis and proper repair. Miele-authorized technicians receive factory training and have access to technical resources unavailable to the general public.
For refrigerators under warranty, unauthorized repairs may void coverage. Always check warranty status before attempting major repairs or hiring non-authorized service providers.
Preventive Maintenance
Regular maintenance prevents many common problems and extends refrigerator life. Clean condenser coils every six months using a vacuum or coil brush. This simple task significantly improves efficiency and reliability.
Check and clean door seals monthly. Wipe them with mild soap and water, removing any food residue or debris. Ensure seals remain pliable—apply a thin coat of petroleum jelly if they become dry or stiff.
Replace water filters according to the manufacturer’s schedule. This maintains water quality and protects ice maker and dispenser components from mineral buildup.
Keep the interior clean by wiping up spills immediately. Monthly deep cleaning prevents odors and maintains hygiene. Remove all items and clean every surface with appropriate cleaners.
Verify temperature settings seasonally. Ambient temperature changes may require minor adjustments to maintain optimal food storage conditions.
Monitor the drain pan and drain tube for clogs. Clean the pan whenever you clean the condenser coils. Flush the drain tube if you notice water accumulation inside the refrigerator.
Optimizing Food Storage
Proper food storage maximizes refrigerator performance and food quality. Store meat on the lowest shelf to prevent drips from contaminating other foods. Use crisper drawers for fruits and vegetables, adjusting humidity settings as designed.
Don’t overfill the refrigerator. Aim for about 75% capacity to allow proper air circulation. Overloading blocks vents and creates temperature variations.
Allow hot foods to cool before refrigerating. Placing hot items inside forces the compressor to work harder and can temporarily raise overall temperature.
Organize items by type and use. Keep frequently accessed items in front to minimize door opening time. This reduces temperature fluctuations and energy consumption.
Use airtight containers for leftovers and opened packages. This prevents odor transfer and maintains food quality while reducing the burden on your refrigerator’s odor control systems.
By following these guidelines and performing regular maintenance, your Miele refrigerator will provide reliable, efficient service for many years, justifying the investment in this premium appliance.